Printing is an inevitable pre-cursor to the SLEEKpro process. Yet many print shops don't realise how much the print engine you use, the settings, etc. affect SLEEKpro results. Here are 9 common issues and how to resolve them.
1. Overprinting on laminates
Layering SLEEKpro with print and laminate is very popular. This can be challenging when overprinting on laminate films and some specialty media. The foil may bond more strongly to the toner than the toner bonds to the film below, causing the foil to pull the toner off the sheet. This is called 'picking'.
Most of this can be alleviated by:
- using the correct film for overprinting (not all films are overprintable. We recommend using SOFTpro)
- laminator settings - we recommend 213ºF, and nothing above 75psi. If you're above this, you run the risk of lifting the toner from the sheet
- increasing fuser temperature
If you don't have have a straightforward way to increase your fuser temperature, a common workaround that we've seen work is to adjust the media settings on your print engine to thicker than what you're actually running. For example, if you're running 270gsm, set it to 350gsm. This will increase the fuser temperature, resulting in a better bond.
Another common issue with overprinting on laminate is static. Because of it's texture, SOFTpro tends to build up static, causing sheets to stick together and mis-feed when they're going back into some print engines.
To resolve this, you can try:
- Experimenting with in-feed trays, for example, on our Xerox Versant, the bypass tray (tray 5) works well.
- Using static string on the laminator. This reduces — or in some cases, eliminates — the static before the sheet gets back to the print engine for overprinting.
Email us at prosupport@skandacor.com if you're interested in purchasing a static kit for your laminator.
2. Dots on your sheet
Some digital toner presses, such as the Xerox Versant have a security pattern that is printed on each sheet for anti-counterfeit protection. This security pattern is invisible to the naked eye, but unfortunately, the foil sticks to it and makes it very visible.
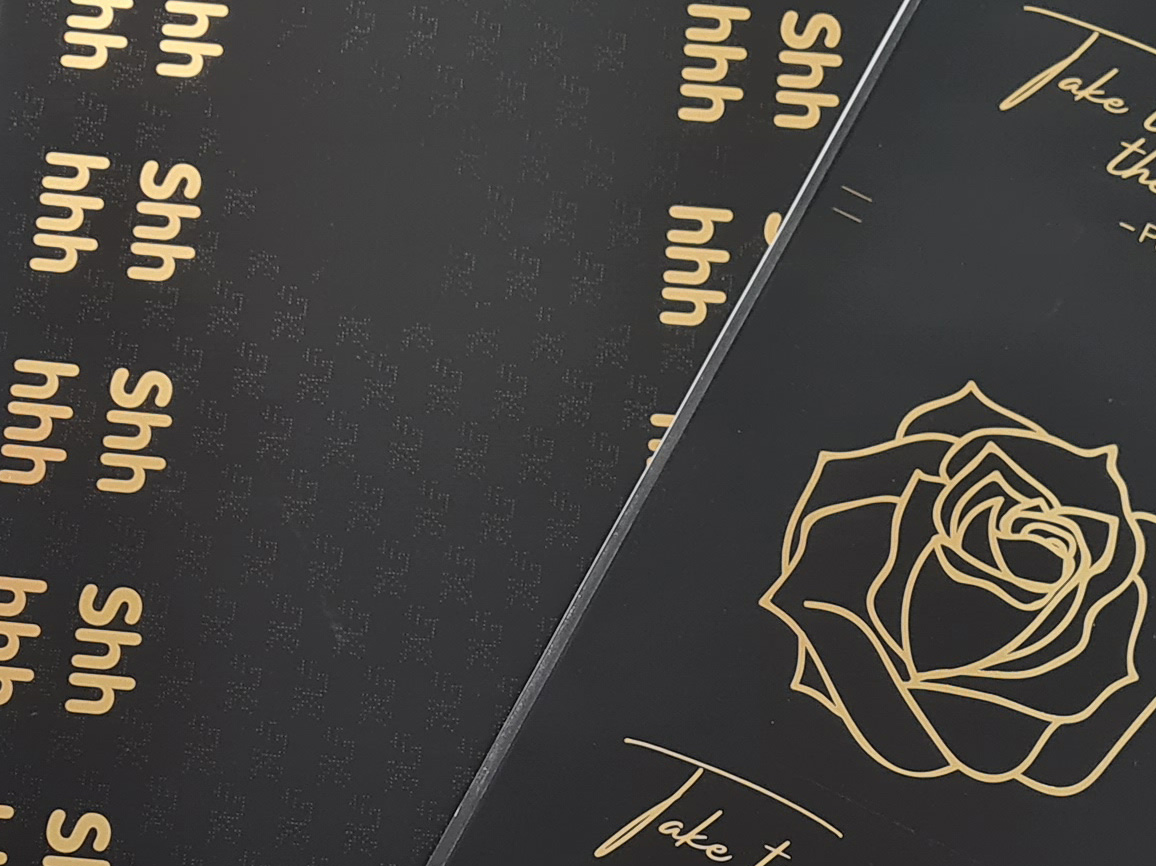
Most brands use yellow toner for the security pattern, so designing in 100% K and printing in greyscale eliminates it. But it is important to note that each RIP handles it differently, and we've found with Fiery it is best to go into "Color" and choose "Greyscale".
3. Uncoated paper stocks
Uncoated paper stock may sometimes affect SLEEKpro results. We've seen this mainly on extremely textured sheets or heavy uncoated stocks. E.g. linen stock, etc.
You can think of uncoated paper as a mountain range. When you print, the toner settles into the "valleys", making it tough for foil to stick. This can cause picking or blocking issues.
So to resolve this, we always recommend using maximum toner density for digital toner. In most cases this will be sufficient on uncoated stock, however 2 print passes may be required. With HP digital inks you may require more passes per sheet.
4. Registration issues
When you're overprinting (either for SLEEKpro or around SLEEKpro elements), registration can become an issue. As you know, when a sheet is going through the printer it can move left-to-right. And even more of an issue, the tail end of a sheet often shifts more than the lead edge.
Unfortunately there isn't much that we can do to avoid this. But here are a few tips that we've found helpful:
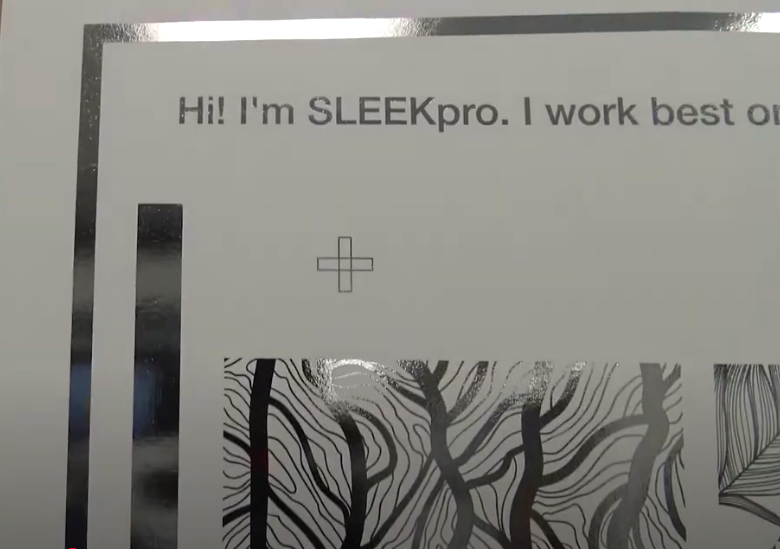
- Use our SLEEKpro Test Sheet to figure out how off your printer is. You can use the same print file to check for registration when you overprint on plain paper, SOFTpro or printable foil, as all three will give you different results.
- Run a set number of sheets at a time (e.g. 20). We've found that with higher numbers, the tail whip, and as a result, registration, worsens. So by batching your prints, you get more controlled results.
- Apply trapping to your file. This is done by adding a slight overlap between the foil and CMYK layers to safeguard against misregistration. You can do this manually, but most modern software should allow you to do this automatically, with more consistent results.
5. Sheet shrinkage
On average, a sheet shrinks 1/32nd of an inch every time it's run through the printer. This is a normal occurrence thanks to the heat from the fuser drying out the moisture in the sheet, and causing the paper fibers to contract. Depending on the file you're running, that shrinkage may be noticeable.
Again, there's not much that we can do to avoid this. But you can:
- Avoid files with tight registration
- Keep the room humidity-controlled so that you have better control over the process. 30% is our recommended humidity level.
6. Set-up/curing time
With Indigo prints, the ink needs time to set up. If we try to foil before the ink has set up, we run into issues like picking or even the foil lifting the ink entirely off the sheet.
This happens because the bond of the foil to the digital ink is stronger than the bond of the digital ink to the paper. So, to avoid this, we recommend waiting for at least 24 hours so that the digital ink can set up and the bond completely cures before you go and put it through the foiling process.
And the same for after foiling! 😉
7. Digital inks vs toner
You'll notice that we most often talk about doing the SLEEKpro process with toner. That's because digital toner presses tend to be the best match for the SLEEKpro process. However, you can use digital ink, e.g. HP Indigo. (Offset ink does not work.)
For digital ink, there are a few tweaks that you'll need to make to the printing aspect of your process, and we break them down in this article. But here's the summary:
- You may need 4-8 100% hits of digital ink
- Use 100% Y when you're printing your SLEEKpro layer (instead of 100% K) - Yellow is the most aggressive when compared to other digital ink colors, and sticks best to difficult stocks
- Curing time is longer with digital inks than dry toner
- Run blanket sheets every 10 sheets when overprinting on top of foil
- Inks need to be rebuilt periodically. We recommend doing one color/week so that each is rebuilt once/month.
8. Blanket sheets
Blanket sheets specifically apply to HP Indigo prints. But regardless of the print engine you're using, we recommend that you make sure the machine has had a good cleaning before overprinting on foil, and as often as needed to ensure optimal results.
This ensures that no particles unnecessarily stick to the surface of the sheet and cause issues with the prints.
9. Overprinting on top of foil
When overprinting on foil, some print engines may lay down the toner/ink streaky or blotchy.
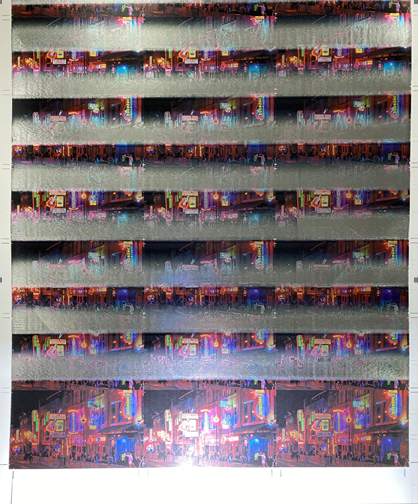
In this case (24-up business cards), the printer consistently applied the top portion of each image, but skipped over the bottom half.
We're not sure if this is a case of the foil effect messing with the sensors. But to avoid this, we recommend not exceeding 80% foil coverage on your sheets.
Every print engine is different, so what works for one print shop may not work for another. Our SLEEKpro Test Sheet is a great starting point for you to understand how your printer does with overprinting in general, and then over SOFTpro and/or overprintable foil.
Feel free to submit a proSUPPORT ticket if you have a specific SLEEKpro issue you need help with.