A few weeks ago, one of our in-house designers created this sample. And we got a few curious enquiries about how we made it. So here's a step-by-step breakdown showing you the entire process.
Embellishment starts with design
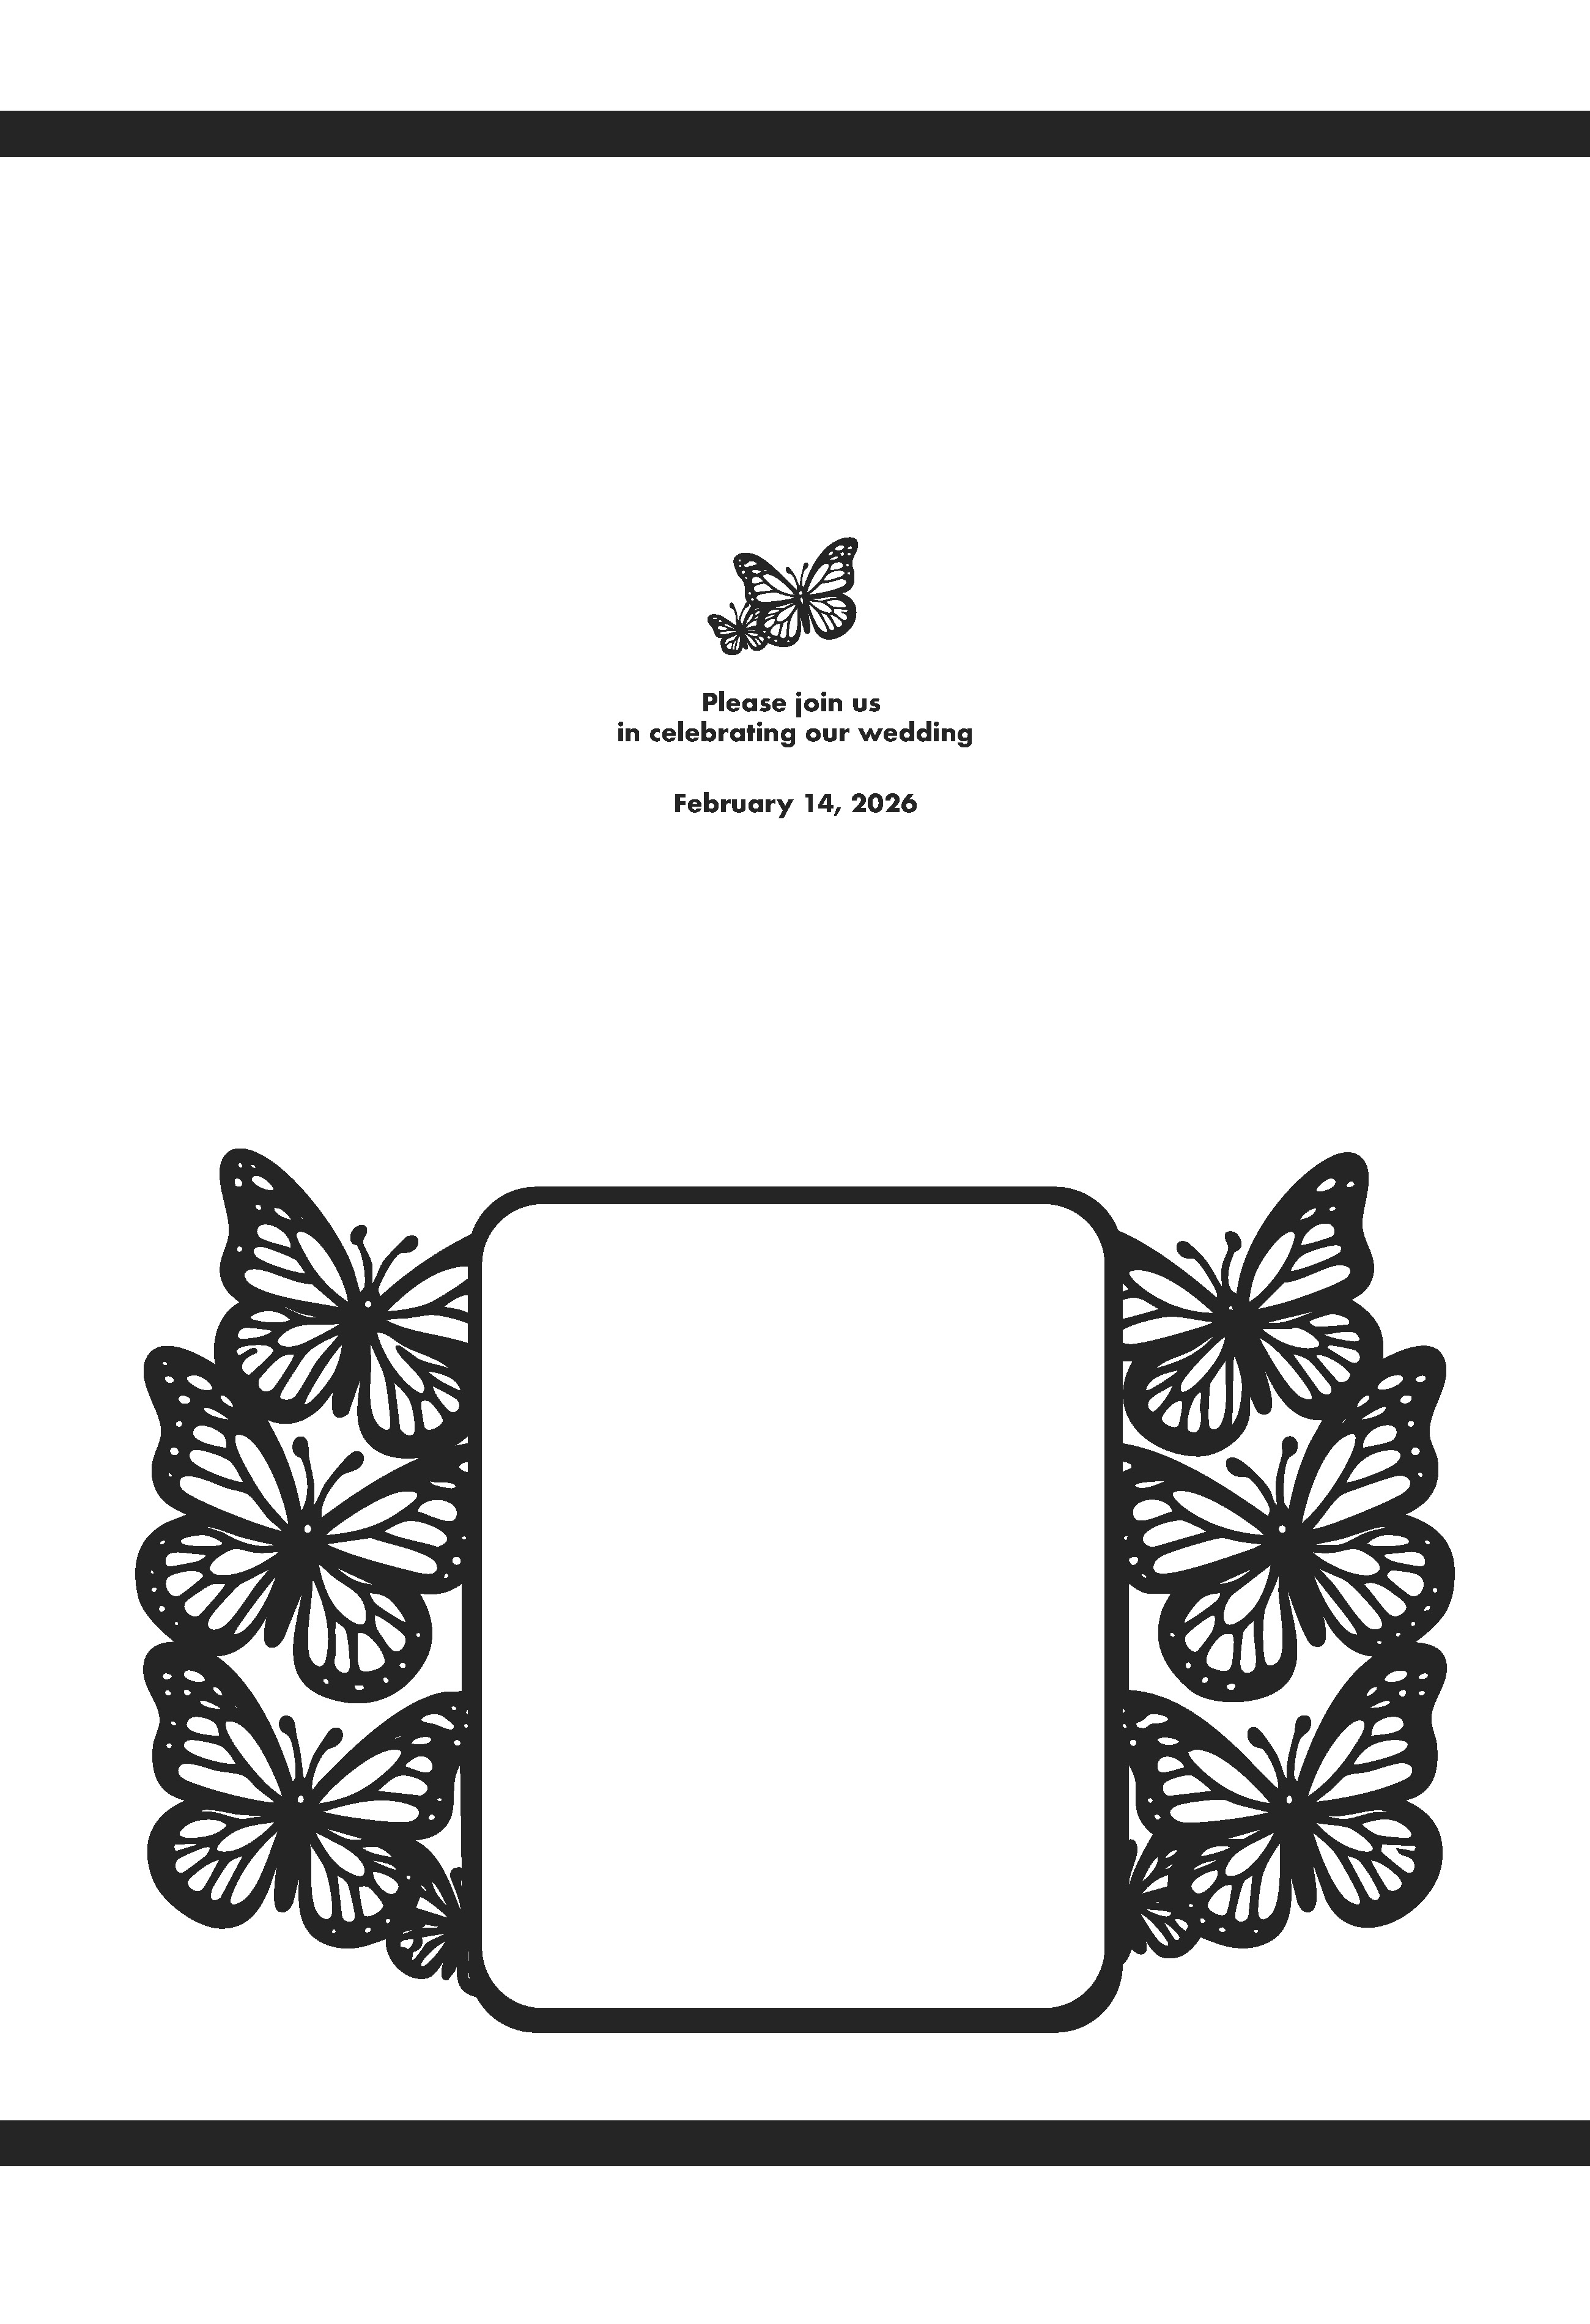
For this invitation, she wanted everything on the sheet to be foiled. So the color is set to 100% K (black). She also added bearer bars at the top and bottom of the sheet to make sure the foil coverage looks good across the sheet, including on the fine details.
Next up: Print
We have a Xerox 180, and that's what she printed this on. There are a few print settings that she changed in Fiery so that she got the results she wanted. For more details on those, check out this video. Basically, you want to make sure that the print engine understands that you want/need 100% K.
Turning print into bling
Once she printed the sheet, she took it over to our LAMpro Cheetah S15 for foiling. For this sample she used our Silver Crystal SLEEKpro foil.
Print → Product

Digital diecutting is the last step here. She used our FINISHpro 2739 AF Max, only because that's what we had in the showroom at the time. But any of our FINISHpro diecutters will work for this application.
You can watch the full video here:
Do you have a file that you aren't sure how to set up? Reach out to us at sales@skandacor.com.