Adding new finishing capabilities can help your print shop take on a wider range of projects and meet changing customer demands. Foiling in printing is one way to expand those possibilities, allowing you to offer specialty finishes for products that need an extra level of detail and customization.
So, what does it take to turn a regular printed sheet into an eye-catching finished product? Here’s what you need to know to achieve clean foil transfers, choose the right equipment, and make the most of foiling opportunities in your print shop.
What is Foil in Printing?
Foiling is a finishing technique that applies a metallic or specialty foil layer to selected areas of a printed design. It creates reflective details that make text, logos, borders, and other graphic elements stand out. Gold and silver are popular choices, while holographic and other specialty finishes offer even more creative possibilities.
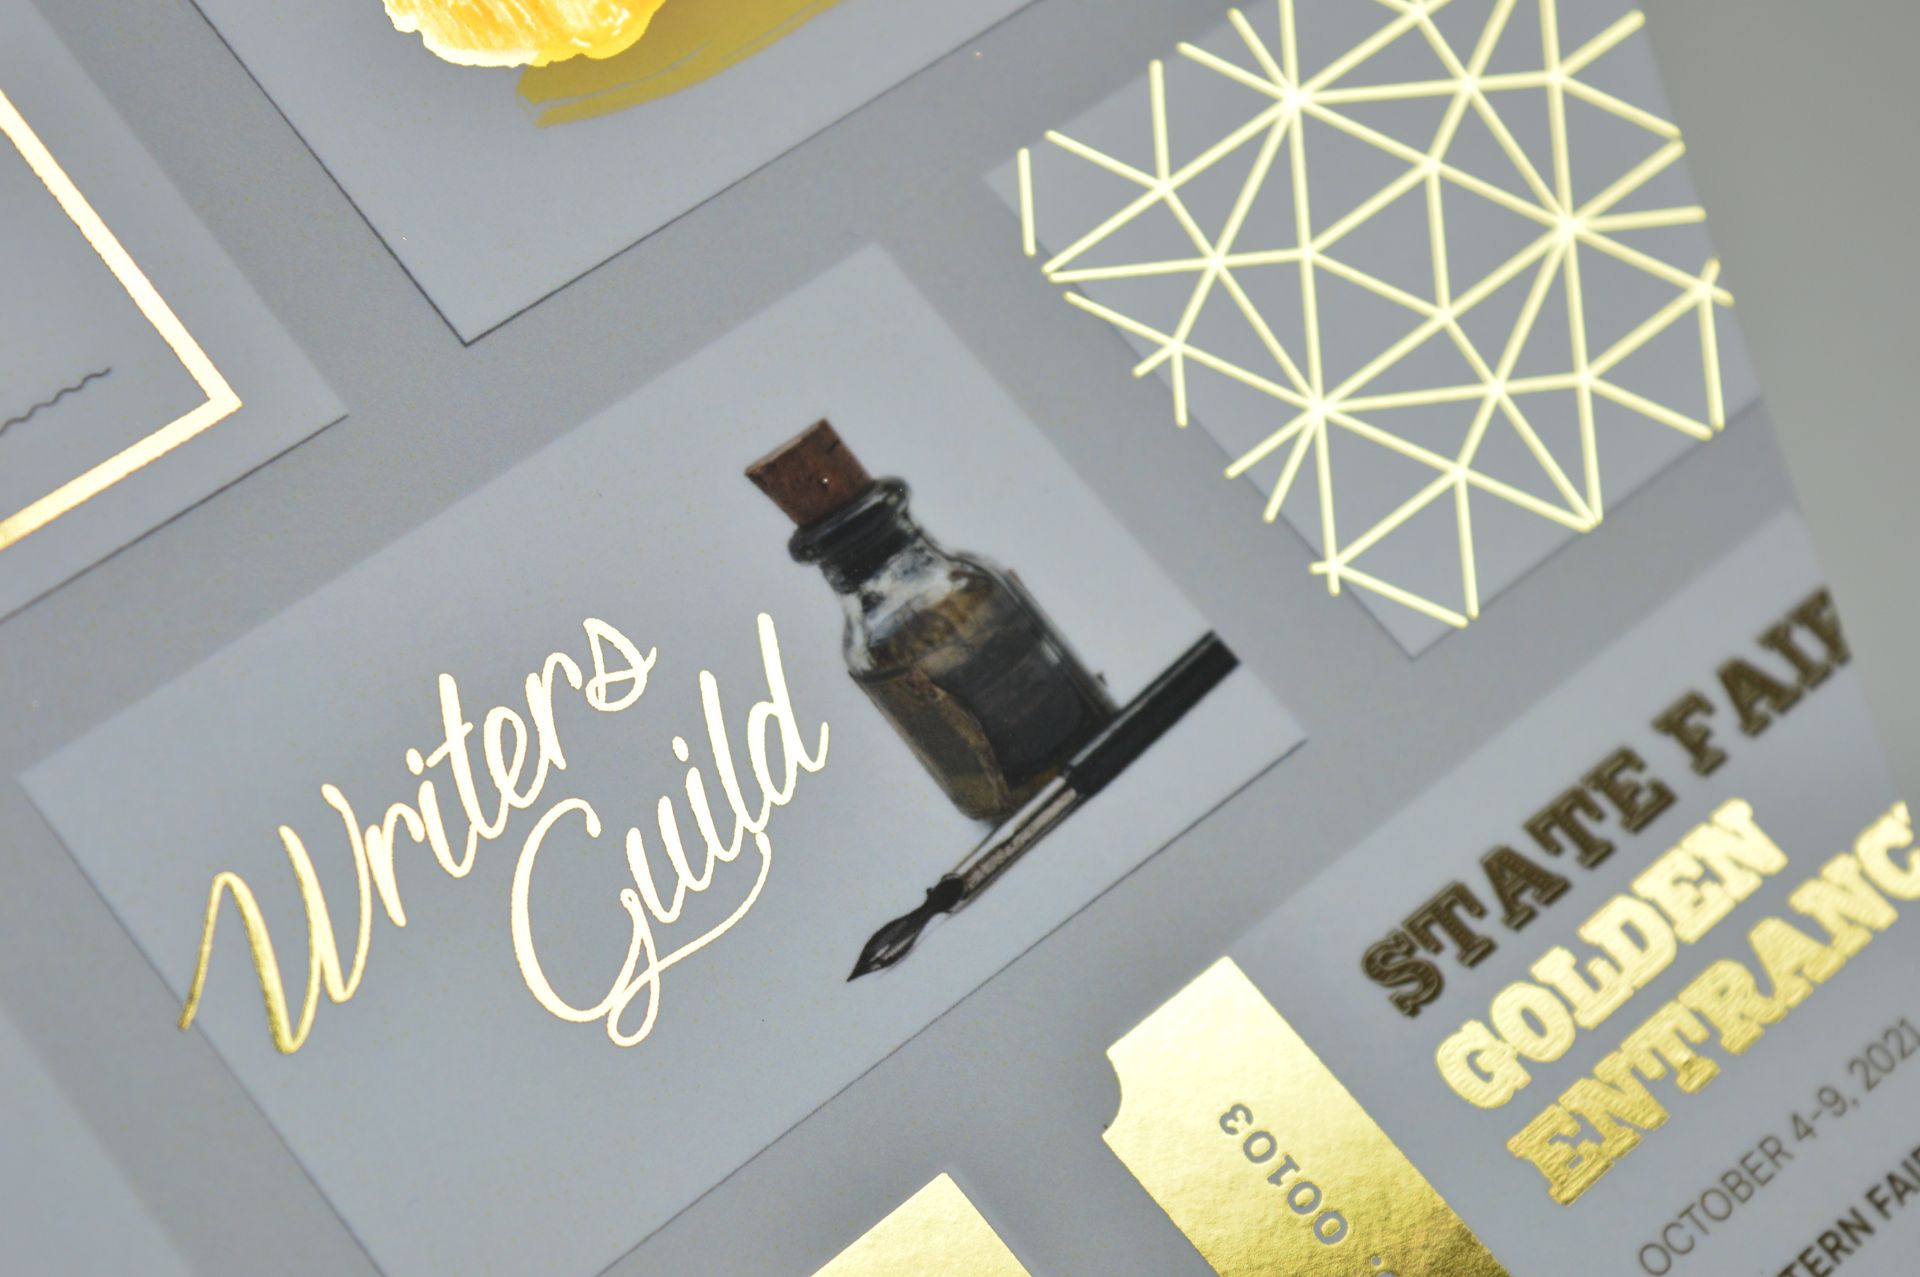
There are two common approaches to foil application: traditional hot foil stamping and digital foiling. Traditional foil stamping typically uses heated metal dies and pressure to transfer foil onto a substrate. Digital foiling, on the other hand, uses a compatible transfer process to apply foil to designated areas of a printed design without requiring a separate stamping die for every project.
For print providers, digital foiling can make personalized orders and shorter production runs more practical. It gives you more flexibility when handling customized designs, especially when each printed piece requires different names, graphics, or other details.
Although both methods create eye-catching foil finishes, they differ in their application processes, equipment, and production requirements. Knowing how each method works can help you determine which approach is better suited to your shop. Let's look at the process step by step.
Step 1: Prepare Your Artwork and Identify the Areas for Foiling
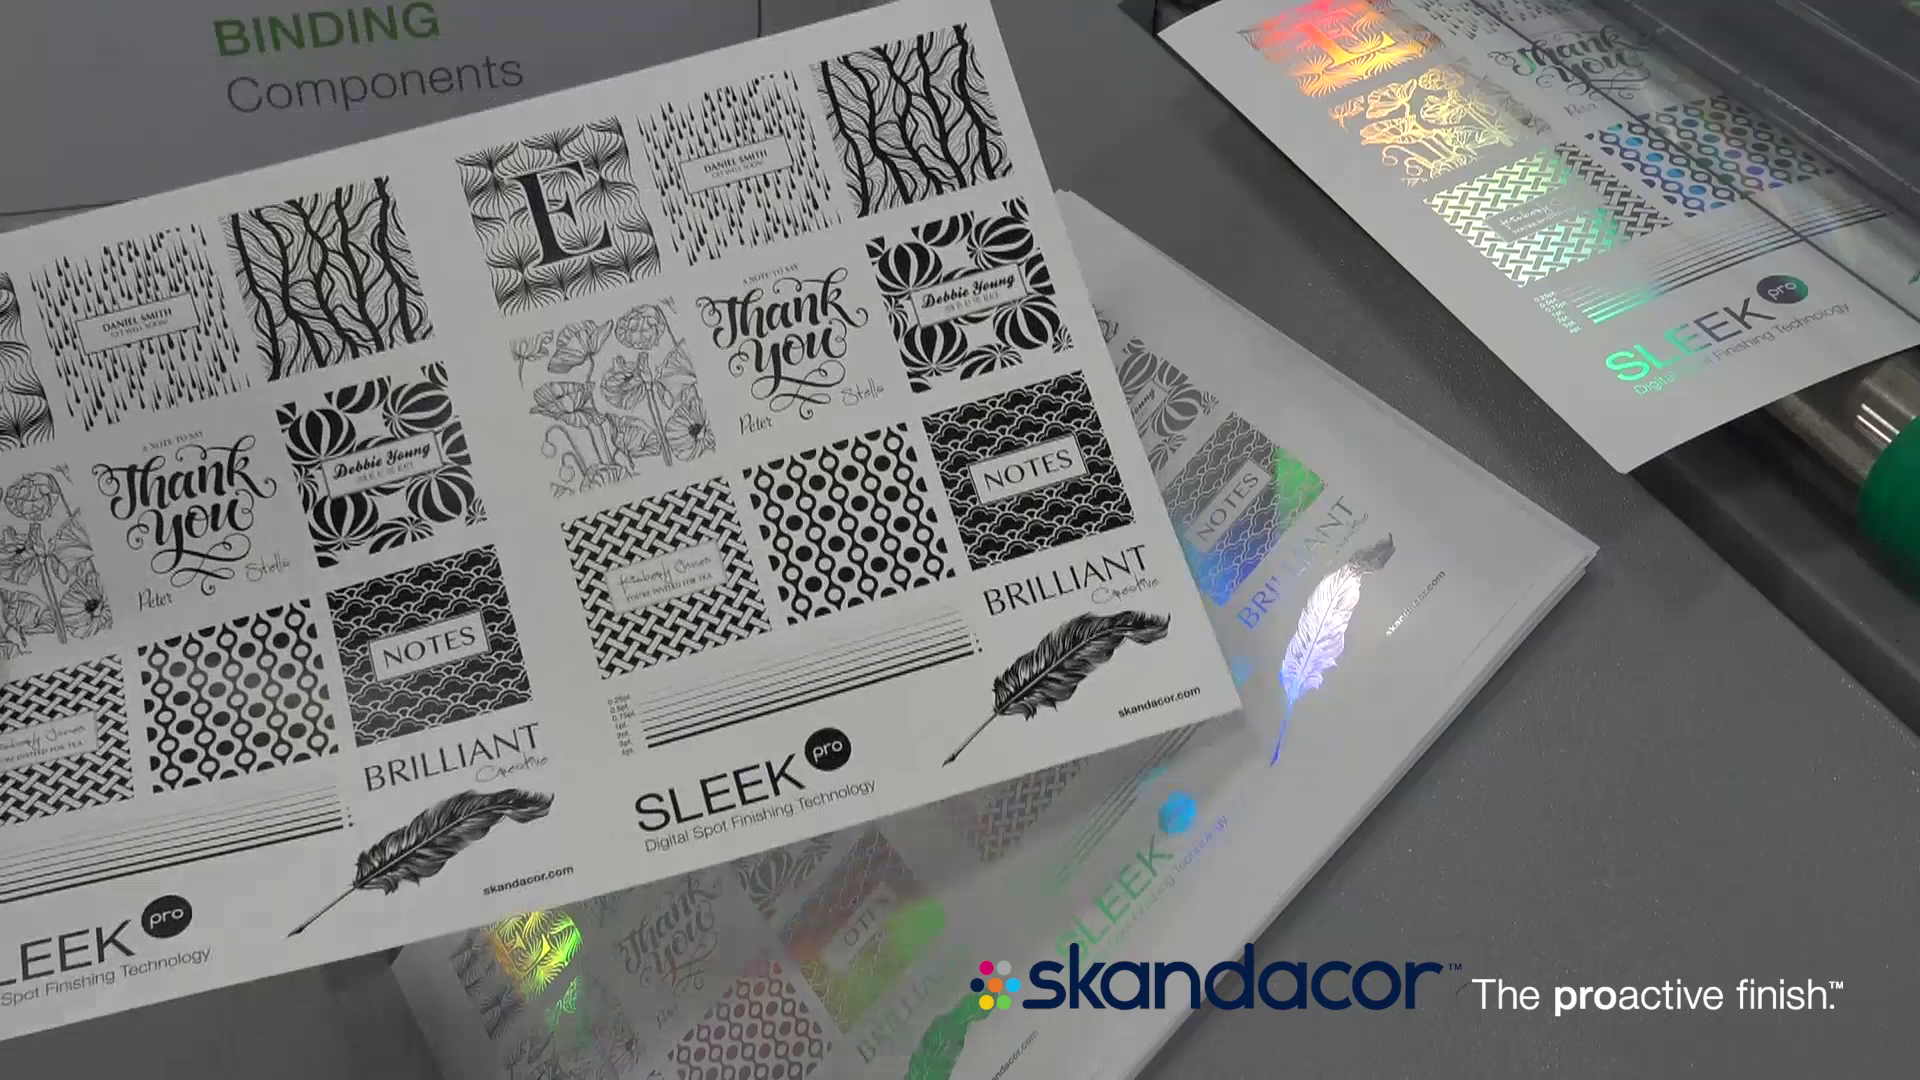
Every foiling job begins in the artwork. Before any equipment is involved, decide which elements should carry the metallic finish. A restrained approach generally works best, because foil is reflective and naturally draws the eye. When only one part of a design is foiled, such as the logo on a business card, that element becomes the first thing people notice. The shine signals where to look.
When everything is foiled, including the name, border, logo, and text, every element competes equally and none stands out. The eye has no single place to land, and the design can look crowded instead of premium.
Size and detail should also be considered. Very thin lines and small type are more difficult to transfer cleanly, so bolder shapes tend to give more reliable results. When there is doubt, a test sheet can confirm whether a design is suitable before a full order is produced.
Before sending the file to print, check what your foiling system requires from the artwork. Some workflows need a separate layer or designated toner area to identify where the foil should adhere. Preparing the file correctly from the start can help prevent production errors and costly reprints.
Step 2: Print Your Design and Prepare the Substrate
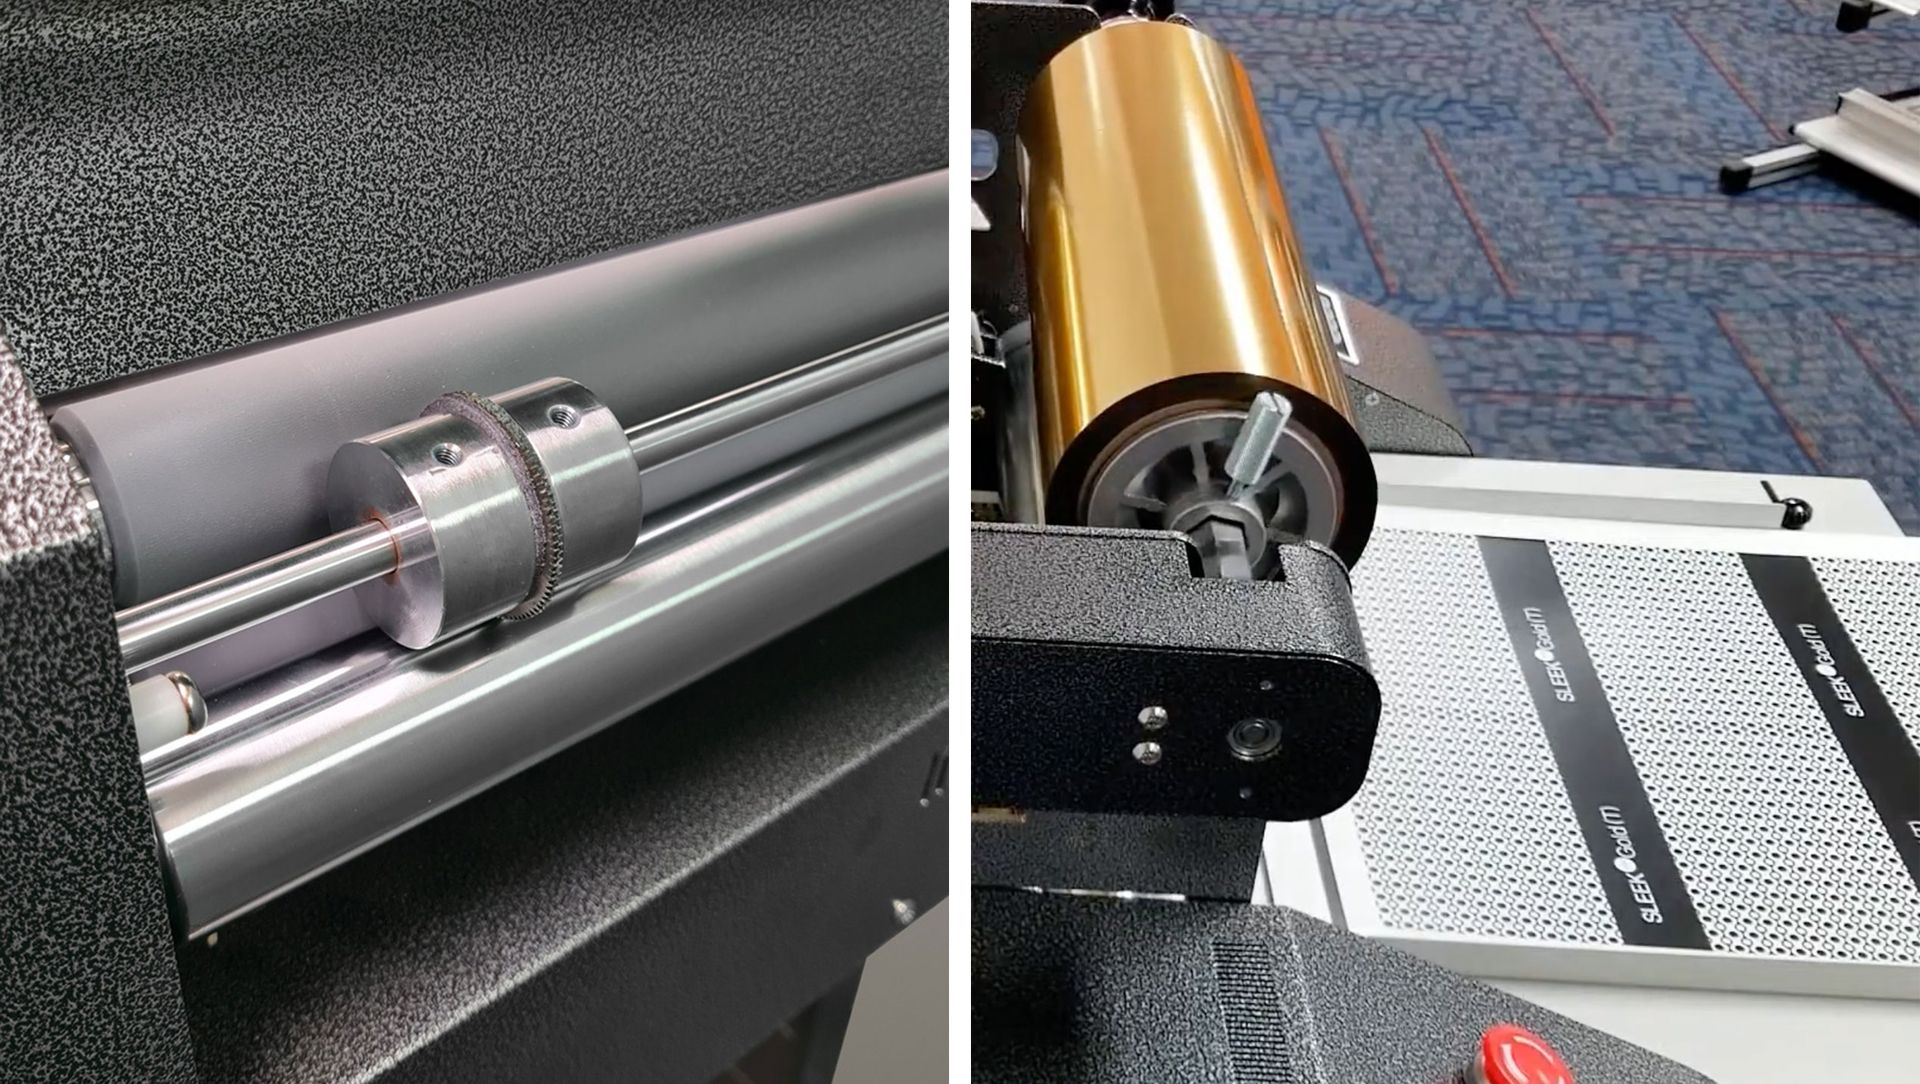
Once your artwork is ready, the next step is printing it onto a compatible substrate. The type of paper or material you choose can affect how well the foil transfers, so it's important to consider your finishing equipment's requirements before starting production.
Different substrates can respond differently to heat and pressure. Check the manufacturer's recommended specifications to make sure your chosen material is suitable for the foiling process. This is especially important when working with specialty stocks or materials with different thicknesses and surface finishes.
Proper sheet handling also matters. Fingerprints, dust, and curled edges can interfere with the foil transfer and affect the finished result. Keep your printed sheets clean, flat, and properly aligned before feeding them into the machine.
Before moving to the next stage, inspect your printed sheets for any visible defects and confirm that the substrate is compatible with your finishing system. Taking these precautions can help prevent inconsistent transfers, unnecessary material waste, and avoidable production issues.
Step 3: Select the Right Foil Application Machine for Your Production
With your printed materials ready, it's time to select the equipment that will handle the foil application. The right choice depends on the type of embellishment you want to produce, your production volume, and the materials you regularly process.
If you create business cards, greeting cards, or invitations, you may be looking for a gold foil machine that can produce clean metallic details. However, keep in mind that not all foiling equipment uses the same technology. Some systems are designed for flat foil transfer, while others can handle embellishments on raised UV finishes. Consider the types of applications you want to offer when evaluating your options.
Skandacor offers several finishing systems for different digital embellishment applications. The FOILER B3 Auto, for example, is an automatic digital foil transfer system designed to apply foil to designated areas of printed designs. For projects that combine raised effects with metallic finishes, the FOILER 3D Auto applies metallic or holographic foil to raised UV finishes.
Beyond the type of embellishment, consider how well the foil application machine fits your existing production setup. Check the materials it supports, the sheet sizes it can handle, and its feeding system. These factors can help you determine whether the equipment is suitable for your typical jobs and production volume.
The important thing is to match the machine to your intended applications. A system designed for flat digital foil transfer may serve different production needs from equipment used for raised embellishments. Understanding these differences helps you make a more informed investment.
Step 4: Perform the Foil Transfer
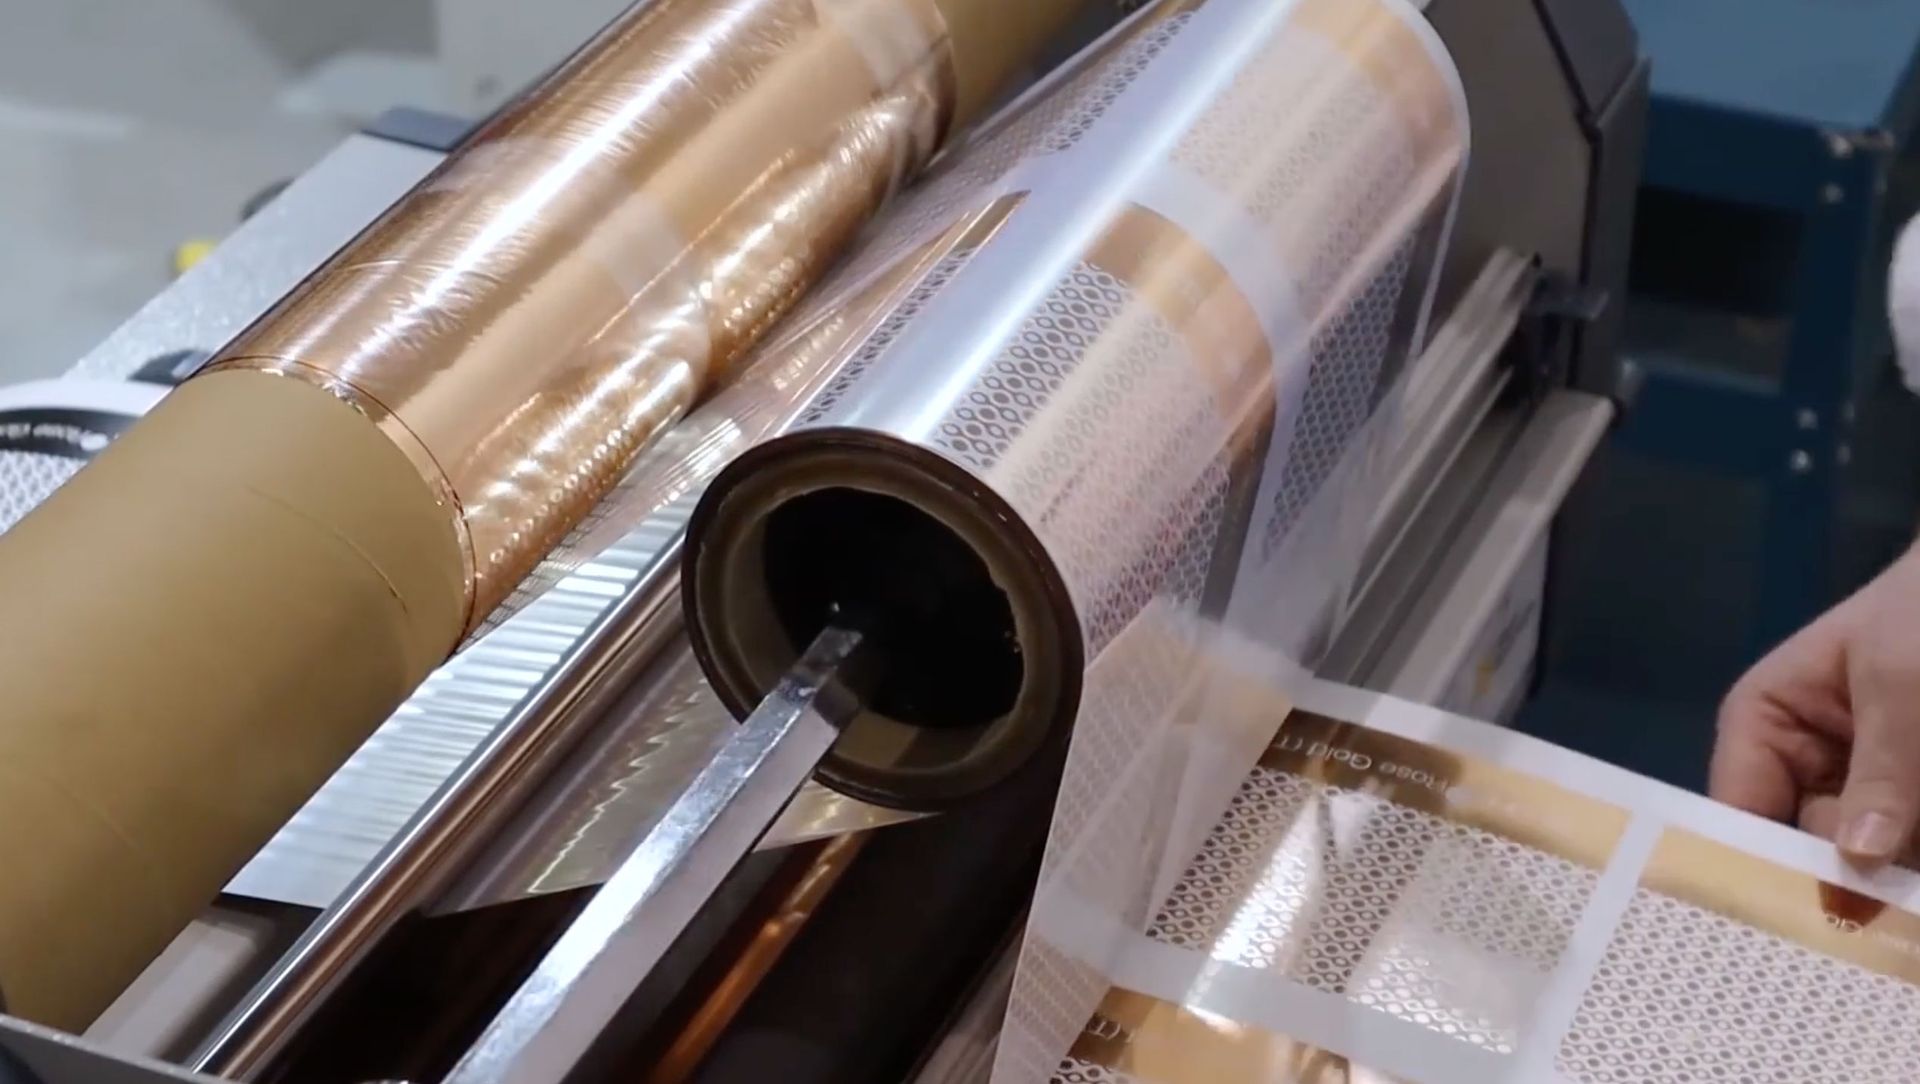
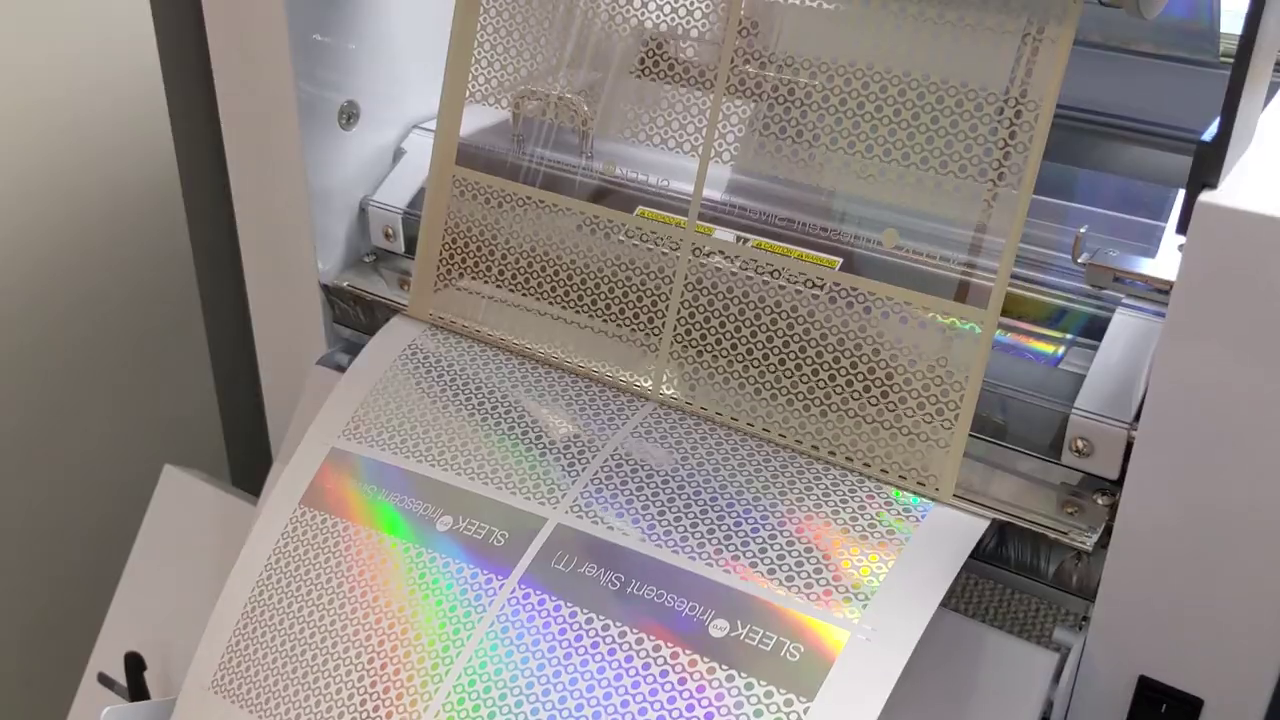
Once you've selected compatible equipment, the next stage is transferring the foil onto your printed design. This is the stage where the earlier preparation comes together. One digital foiling method used in print finishing is the sleeking process. It allows foil to adhere to compatible toner-printed areas through heat and pressure, creating metallic effects without conventional stamping dies. Skandacor's SLEEKpro technology uses this type of digital foil transfer with compatible LAMpro laminators, making it a practical option for print providers handling customized designs and shorter production runs.
For example, the LAMpro Lion 22A supports single-sided and duplex lamination, encapsulation, and SLEEKpro digital foiling. This allows print providers to handle everyday lamination requirements while exploring additional embellishment applications using compatible materials and processes.
The LAMpro Cheetah S15 is another option for shops looking to incorporate digital foiling into their operations. Its semi-automatic feeding system and SLEEKpro compatibility support applications such as variable-data foil embellishment, spot varnishing, and holographic effects.
When operating your equipment, follow the recommended settings for the specific film, substrate, and foil you're using. If the transfer is incomplete or unwanted marks appear, the cause is usually a mismatch among those three elements. Adjust one variable at a time to identify the source.
Step 5: Remove Excess Foil and Inspect the Finished Design
After the foil transfer is complete, the next step is removing the excess foil to reveal the finished embellishment. This exposes the metallic details in the areas where the foil has successfully adhered to the printed design.
Take time to inspect the finished sheets. Check whether the foil coverage is consistent, whether the edges are clean, and whether small design elements have transferred properly. Pay particular attention to fine text, detailed logos, and intricate artwork, as these areas can make imperfections more noticeable.
If the finished product will undergo additional processes, such as trimming, folding, or binding, make sure the foil application is suitable for the next production stage. This is especially important for business cards and other printed products that require precise finishing.
Once the sheets pass inspection, you can proceed with the remaining finishing work and prepare the completed products for delivery. Maintaining consistent quality checks helps ensure that your customers receive printed materials that look as good as the original design.
What Makes the Best Hot Foil Machine for Card Making?
Producing foil-finished cards requires equipment that can handle both the material and the level of detail in your designs.
Before investing in equipment, consider a few important factors. Check the maximum sheet size and cardstock thickness the machine can handle, especially if you produce different card formats. Look into its feeding system and production speed to determine whether it can keep up with your typical order volume. You should also consider how well it handles fine details, whether it supports the foil finishes you want to offer, and how easily it fits into your existing workflow.
Don't overlook operating requirements and after-sales support, either. Ask about maintenance, operator training, material compatibility, and the availability of technical assistance. These details can affect how reliably you use the equipment over time.
Ultimately, the right machine should match your everyday production needs, accommodate the card designs your customers request, and give your shop room to expand its specialty finishing services.
Choosing a Professional Laminating Machine for Your Finishing Needs
If your shop handles both everyday lamination and specialty embellishment, choosing the right professional laminating machine can help you manage different finishing requirements. However, not every conventional laminator supports digital foiling, so it's important to understand the machine's capabilities before investing.
A roll laminator machine, for example, is commonly used to apply protective film to printed materials. If you also want to offer digital foiling, check whether your equipment is compatible with the specific foil transfer technology you're planning to use. The LAMpro Lion 22A is one option, supporting single-sided and duplex lamination, encapsulation, and SLEEKpro digital foiling.
Combining lamination with compatible digital foiling capabilities lets you offer more finishing options without relying on separate equipment for every application.
Final Note
Foiling can give your printed products an added level of detail and visual appeal, but achieving consistent results starts with choosing a process that fits your production needs. From traditional hot foil stamping to digital foil transfer, each method offers different capabilities, so it's worth understanding what your equipment can handle before taking on new applications.
At Skandacor we offer digital finishing solutions designed to help print providers expand their capabilities. Whether you're looking to add metallic accents, raised embellishments, or versatile lamination options, the right equipment can help you take on more creative projects and deliver finished products your customers will appreciate.
Have a new finishing application in mind?
Connect with our team or visit www.skandacor.com to find the right finishing solution for your shop.