A metallic finish can add just the right amount of impact to an otherwise simple design. That's why print shops use it on everything from cards and covers to labels and packaging, and why more shops are looking to bring the process in-house. The good news is that learning how to use hot foil machines doesn't require years of experience. With a clear process, the right settings, and a little patience, you can get started with confidence.
In this guide, we'll walk you through the basic steps of operating a digital hot foil machine, from loading the film roll and setting up the machine to running your first sheets. We'll also cover a few common issues and things to keep in mind during operation.
How Does a Hot Foil Machine Work?
A hot foil machine uses heat and pressure to transfer a foil finish onto a printed surface. However, the process can vary depending on the equipment and foiling technology being used. Traditional hot foil stamping relies on heated dies, while digital foiling uses a compatible transfer process to apply foil to designated areas of a printed design.
One example of digital finishing equipment is the LAMpro Cheetah S15 from Skandacor. It combines lamination capabilities with SLEEKpro digital foiling technology, allowing print providers to add metallic and specialty foil effects to compatible printed materials. Its semi-automatic feeding system also gives operators control over sheet handling during production.
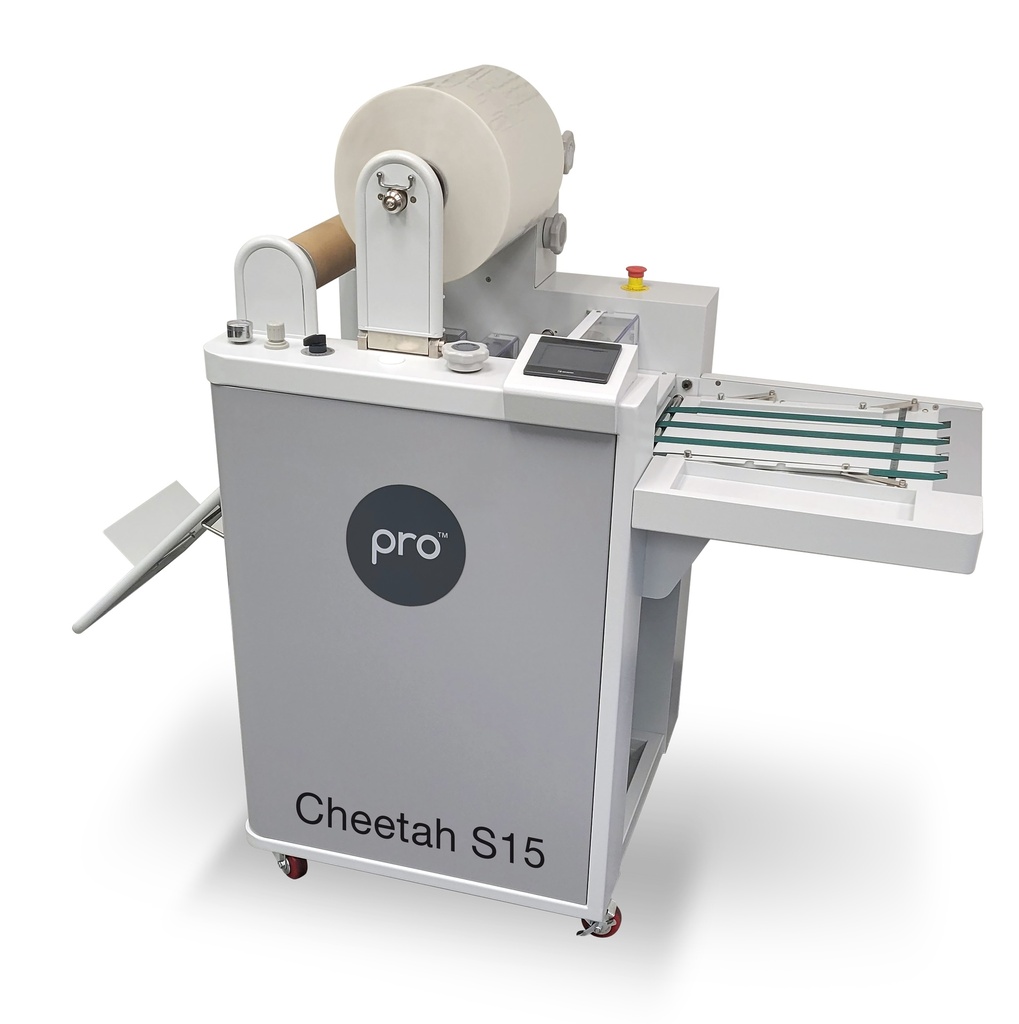
For print shops exploring sleeking foil solutions, understanding how the film, printed surface, temperature, and machine settings work together is essential. Proper preparation helps ensure that the materials move through the machine correctly and that the foil transfers as intended.
How to Use the LAMpro Cheetah S15 in 7 Easy Steps
Before starting production, make sure the machine is properly set up and its settings are checked. These seven steps will guide you through the process, from preparing your sheets to inspecting the finished output.
Step 1: Prepare your sheets
Before pressing Start, have two to three blank white sheets ready to manually feed into the machine. Use these initial sheets to check the film alignment and make any necessary adjustments before running your actual prints.
Step 2: Set the film position
Before starting the machine, check the Film Position knob and make sure it is set to 0.
This is the recommended starting position for the setup procedure. Confirm the setting before moving on to the next adjustment.
Step 3: Adjust the pull roller
Next, check the Pull Roller setting. Make sure it is set to PRESS before proceeding.
This setting should be verified as part of your initial machine preparation. Once confirmed, you can move on to loading the film.
Step 4: Load the film roll and adjust tension
Start by loading the film roll onto the main mandrel. Before threading (webbing) the film through the machine, temporarily reduce the tension to make the process easier.
Once the film has been threaded through the simplex roller, readjust the tension according to the thickness of the film you're using. The goal is to maintain enough tension for proper film movement without placing unnecessary resistance on the roll.
For SOFTpro 1.7 mil, minimal tension is typically required. Gradually increase the tension only until you feel slight resistance when turning the knob. Avoid overtightening, as excessive tension can affect film movement during production.
Step 5: Set the speed and activate flying knife
With the film loaded and aligned, you can move on to the machine speed and Flying Knife settings.
Start at approximately 2 m/min. This slower speed allows enough time to manually feed the first three sheets and check whether the film is properly aligned. Observe the lamination results before increasing the production speed.
Once the film alignment is correct and the lamination looks satisfactory, activate the Flying Knife. Then, follow these settings:
- Cut Position: Set it to 0 mm.
- Sheet Length: Verify the sheet length setting. As a starting point, set it approximately 1 inch shorter than the actual sheet length to allow the flying knife to separate sheets correctly.
Check the resulting cuts before proceeding with your full production run.
Step 6: Adjust the decurler
After checking the lamination and sheet separation, inspect the finished sheets for curling. The Decurler helps correct the curl that may occur during the finishing process.
Adjust it according to the condition of the finished sheets. If the leading edge curls upward, gradually increase the decurling. For excessive upward curl, continue making small adjustments until the sheets come out as flat as possible.
Avoid over-adjusting the Decurler, as excessive adjustments may introduce curling in the opposite direction. Make small changes and check the output after each adjustment to find the appropriate setting.
Step 7: Check temperature and film shrinkage
Finally, monitor the film as it moves through the machine. If you notice the film becoming narrower or shrinking across the sheet, this may indicate excessive heat or film tension.
Check whether the temperature exceeds 120°C or whether the tension is too high. As a troubleshooting starting point, reduce the temperature to 115°C and lower the film tension as needed.
Run a few test sheets and readjust until the film remains properly aligned adn the laminated finish is consistent.
Quick operator reminder:
For hand feeding, start slowly, maintain consistent sheet alignment and spacing, use minimal necessary film tension, and verify the laminated output before activating the flying knife.
Note: These are practical operator recommendations. Always verify settings against the film specifications and Cheetah S15 operating instructions.
Common Mistakes to Avoid
Skipping the test sheets. Running production prints before checking film alignment can lead to wasted materials if adjustments are needed.
Adding too much tension. More tension isn't necessarily better. Excessive tension can stretch the film, causing it to narrow at the edges (also known as necking).
Over-correcting the decurler. Too much decurling can cause sheets to curl in the opposite direction.
Changing several settings at once. You won't know which change helped. Adjust one setting at a time and run a test sheet before making another change. This helps you identify which adjustment improves the finished output.
Ignoring the film specifications. The machine settings mentioned in this guide are starting points, not universal settings. Always check your film manufacturer's specifications for the recommended temperature, tension, and operating requirements before production.
Frequently asked questions about LAMpro Cheetah S15
Here are some common questions about our LAMpro Cheetah S15.
The LAMpro Cheetah S15 is a semi-automatic, single-sided laminating and finishing system designed for print shops. It combines lamination with SLEEKpro digital finishing technology, allowing you to produce variable-data foil embellishments, spot varnishing, and holographic effects on digital prints.
Yes. The Cheetah S15 supports SLEEKpro digital foiling, which allows you to transfer foil onto compatible printed designs. You can use it to add metallic and specialty effects to applications such as business cards, covers, stationery, packaging and many more.
The LAMpro Cheetah S15 handles sheets ranging from 7 × 8.25 inches to 15 × 22 inches. For longer jobs, an optional table extension accommodates sheets up to 15 × 48 inches, giving print shops more flexibility when working with larger formats.
The LAMpro Cheetah S15 supports laminating films between 1.0 and 2.0 mil thick. Compatible options include OPP-based films, such as POLYpro, and nylon-based films, such as NYpro. PET-based films, such as PETpro, are also supported, but only in thin-gauge options between 1.0 and 2.0 mil.
Test sheets help you check film alignment, feeding, and lamination quality before processing your actual job. They also give you an opportunity to make adjustments without risking a larger batch of printed materials.
Start by inspecting the finished sheets and identifying the direction of the curl. The Cheetah S15's Decurler helps reduce curling that can occur during single-sided lamination, helping produce flatter finished sheets.
If you notice curling, check the Decurler setting and make adjustments according to the machine's operating instructions. Run a few test sheets after each adjustment to evaluate the results before continuing with production.
Activate the Flying Knife after you've checked the film alignment and confirmed that the laminated output is feeding properly. Before production, verify the sheet-length and cutting settings according to the machine's operating instructions.
The Cheetah S15 uses a semi-automatic feeding system, so operators still participate in handling and feeding sheets rather than relying entirely on an automatic feeder. This setup is particularly useful for short-run applications where preparing a fully automatic feeder may take more time than the job itself.
For the best results, maintain consistent sheet alignment and spacing, especially when manually feeding the initial test sheets.
Does Your Laminating Film Roll Work with SLEEKpro?
The laminating film you choose can affect the appearance, texture, and overall quality of your finished print. When combining lamination with SLEEKpro digital foiling, it's important to select a film that works well with the process and provides the finish you want.
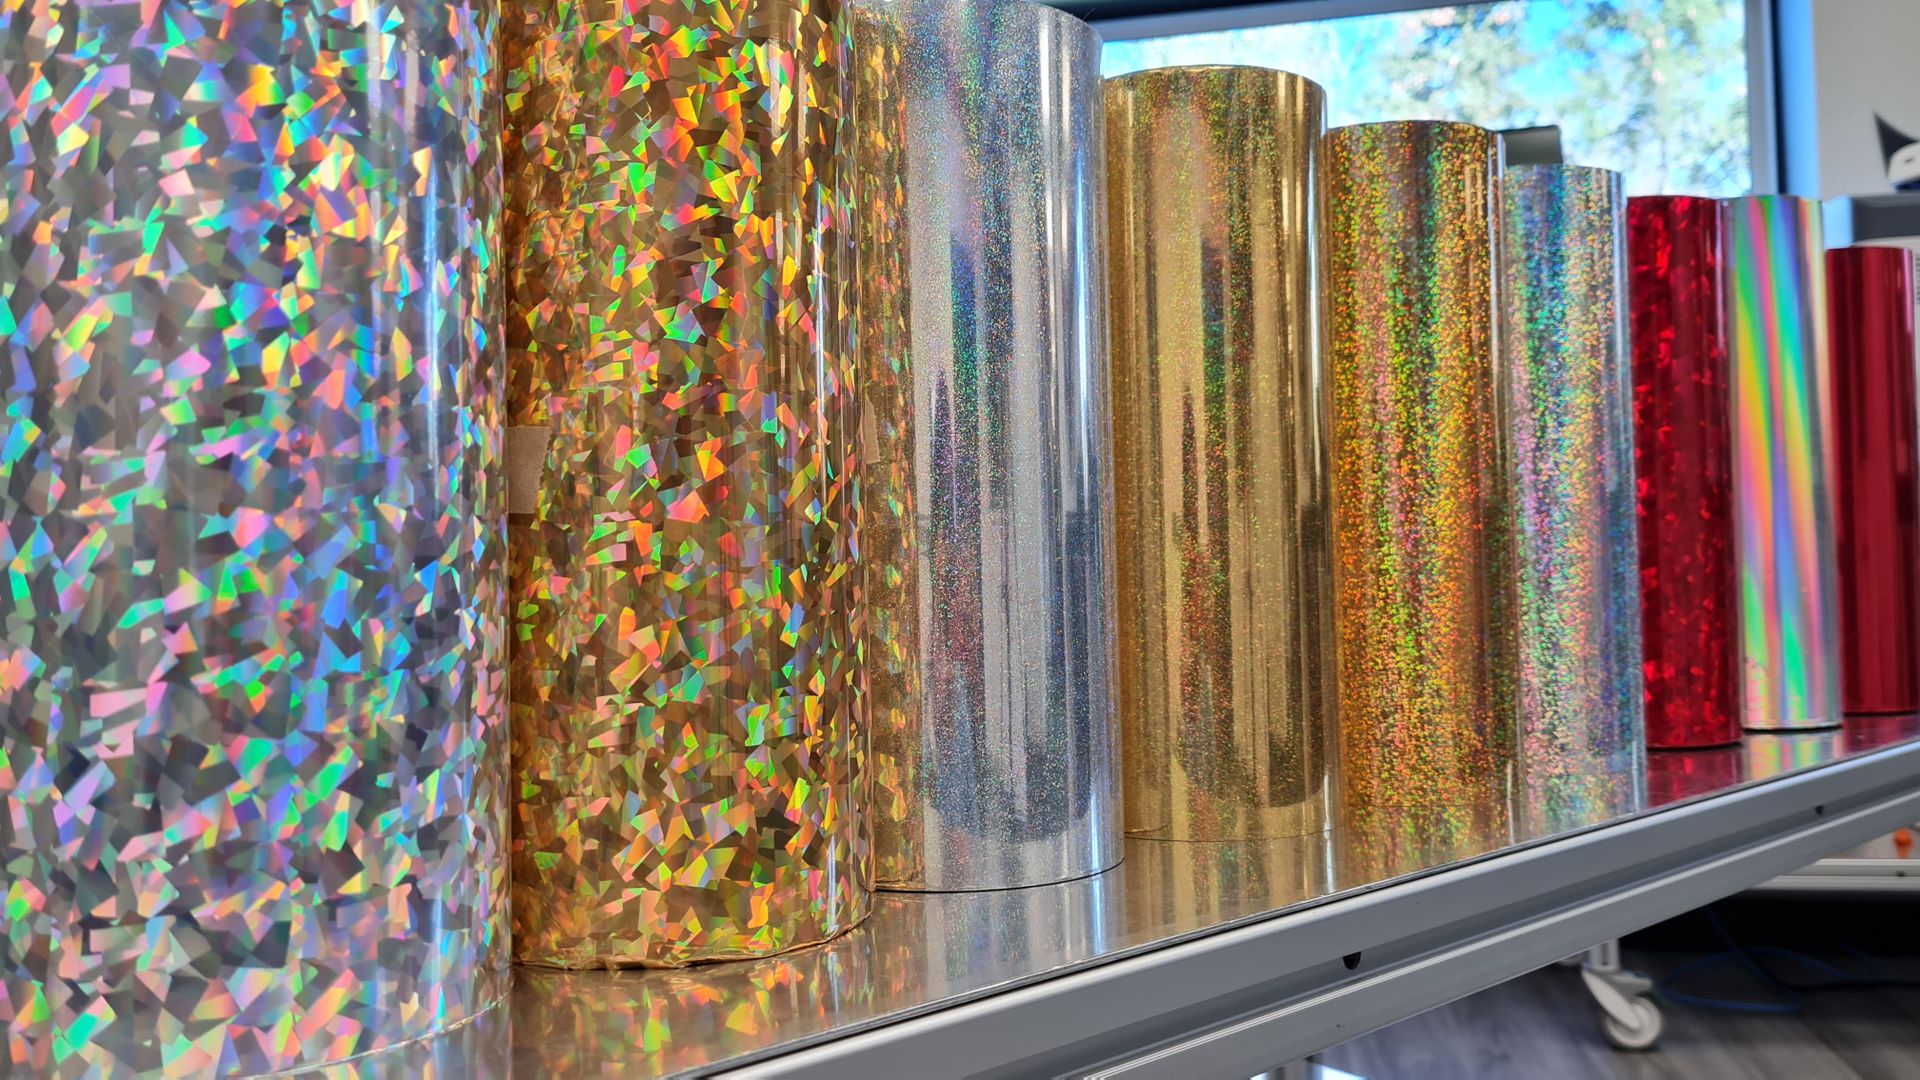
For example, SOFTpro is one of Skandacor's recommended options for SLEEKpro applications involving foil over laminate. It adds a soft-touch feel to printed materials while providing a suitable surface for digital foil embellishment. Other laminate films may offer different finishes, so consider the look and feel you want to achieve before choosing a roll.
Keep in mind that not every SLEEKpro application requires lamination. Depending on your project, you can apply digital foil directly to exposed toner without a laminate barrier. The right approach depends on your desired finish, print materials, and application.
Before loading a laminating film roll, check its compatibility with your equipment and the SLEEKpro process. Choosing the appropriate film can help you achieve the intended finish while maintaining consistent production results.
Foil Laminator: What Should You Look For?
Buying the most advanced, most expensive foil laminator isn’t the goal. Buying the one that fits your shop is. Before you compare models, start with what you actually print and finish every week, then work backward.
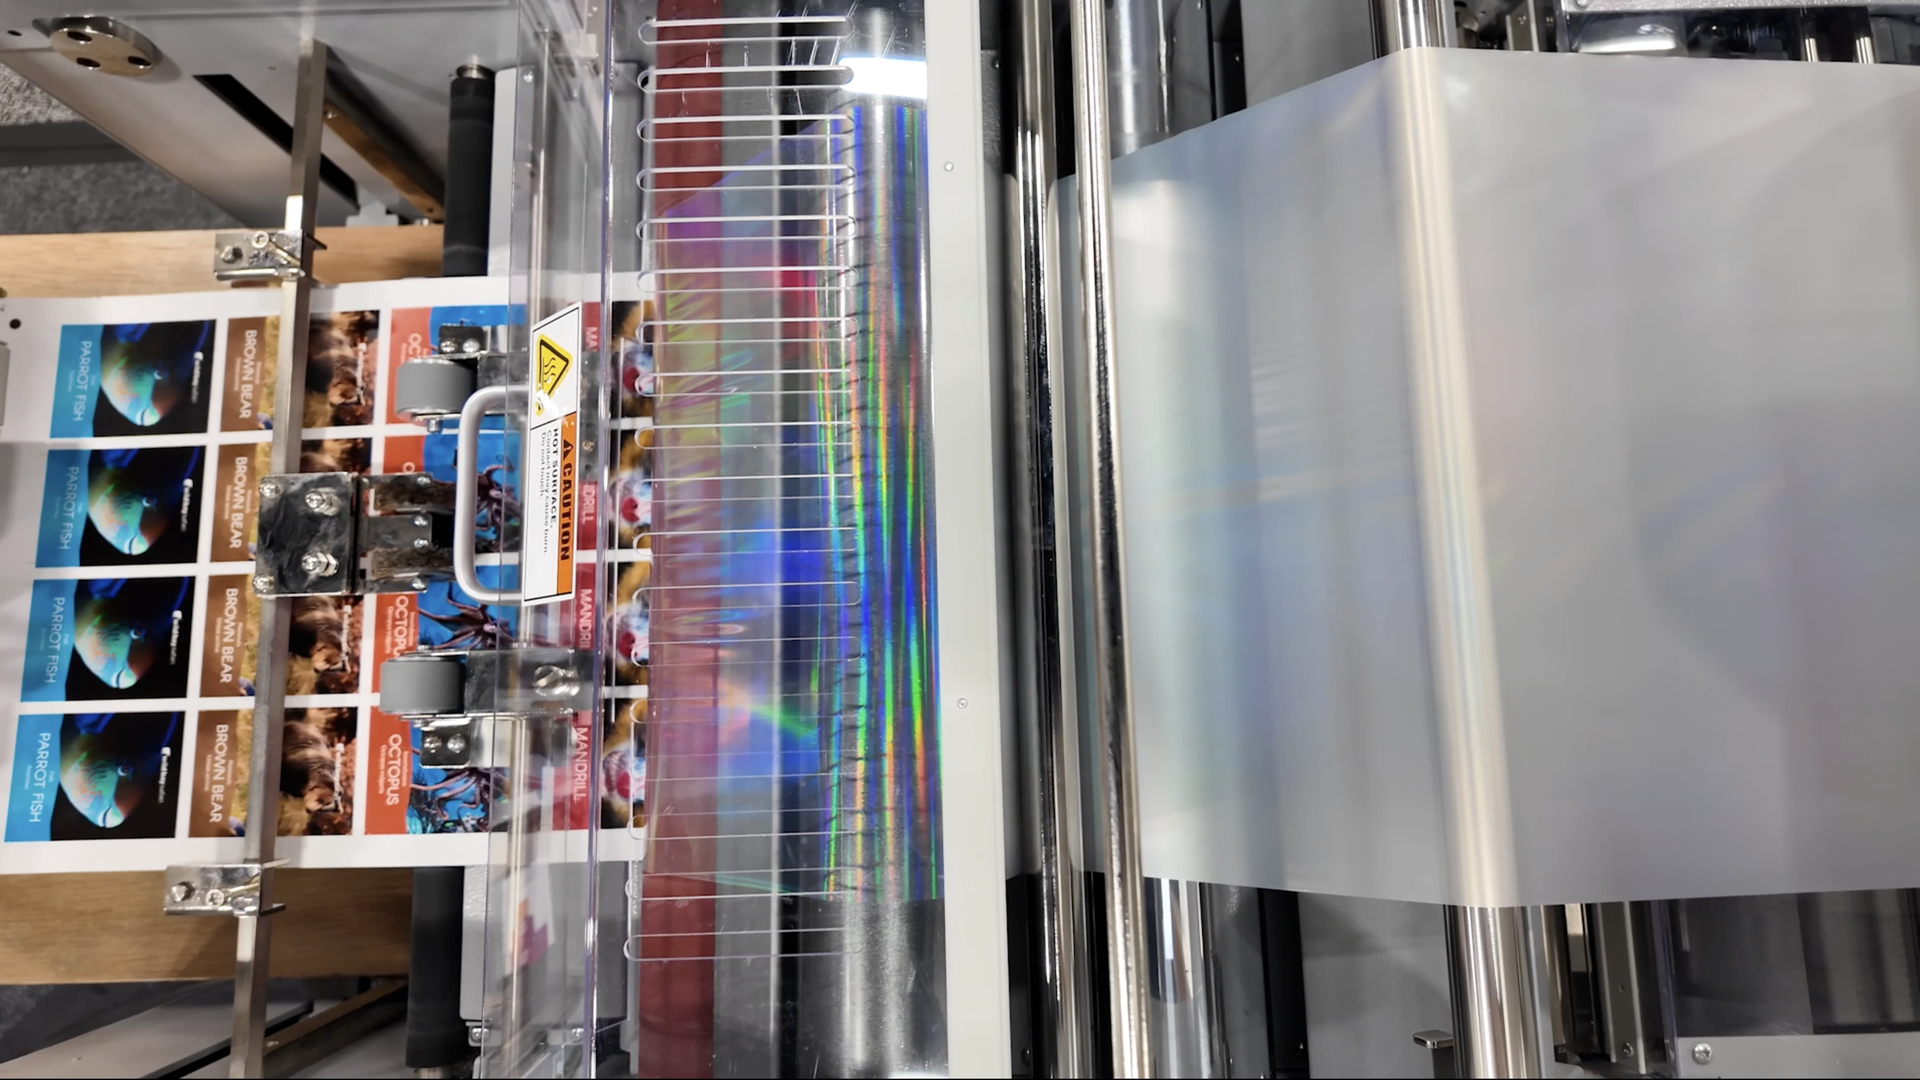
If you're looking for the best laminating machine for foiling, here are a few things worth considering:
- Finishing capabilities: Look for equipment that supports the applications you want to offer, whether that's standard lamination, personalized digital foil embellishment, spot varnishing, or holographic effects.
- Material compatibility: Check the supported film types, substrate thicknesses, and sheet sizes to make sure the machine can handle the materials you regularly use.
- Feeding system: Consider how sheets are loaded and handled during production. A feeding system that suits your workflow can make job setup and operation more manageable.
- Production requirements: Think about your typical order volume and the variety of jobs you handle. The equipment should support your current needs while giving you room to expand your services.
- Technical support: Operator training, maintenance guidance, and accessible technical support are also worth considering when investing in new finishing equipment.
If a machine fits your materials, production needs, and team, it's probably the best laminating machine for foiling in your shop, even if it isn't the fanciest one on the market.
How to Choose a Hot Foil Machine
The right machine depends on what you print, your lamination film, and the people who’ll run it every day. If you’ve followed the seven steps in this guide, you already know which controls matter and how much they affect the finished sheet.
So before you buy hot foil machine equipment, write down your jobs, your stock, and the volume you handle. Then compare machines against that list. It’s a lot easier than comparing spec sheets, and it keeps you from paying for features you won’t use.
Final Note: Get More From Your Finishing Equipment
Getting started with digital foiling takes more than knowing which buttons to press. Understanding your materials, adjusting the machine settings, and choosing the right finishing approach all contribute to achieving consistent results. With the right preparation and equipment, you can take on more specialty finishing projects and give your customers additional ways to make their printed materials stand out.
Skandacor supplies print shops in Canada, USA, Europe, and we’re happy to help you work through it. Tell us what you’re making, and we’ll point you to a machine and film that fit.
Ready to get started? Get in touch with Skandacor today and let’s find the right hot foil machine for your shop.